Setting Date Boundary in MID Lookup Table
Setting date boundaries in the MID lookup table can enhance data management, particularly for tracking changes in rates or other time-sensitive information. The following steps provide a straightforward guide to configuring the Start Date and End Date columns within the table.
1. Click on Edit Table to access the lookup table settings.
2. Tick the Date Boundary checkbox and select Status Date from the drop-down list to enable date-based validation and click on Update.
3. Once Date Boundary is enabled, the system will automatically create Start Date and End Date columns, which will be positioned at the end of the table.
4. Add or Update Data.
- For existing data, Start and End dates can be added manually within the system or by exporting the table to Excel. After updating the spreadsheet, import it back using Update Data option.
- For new data, the downloaded template will already include the Start and End Date columns for immediate use.
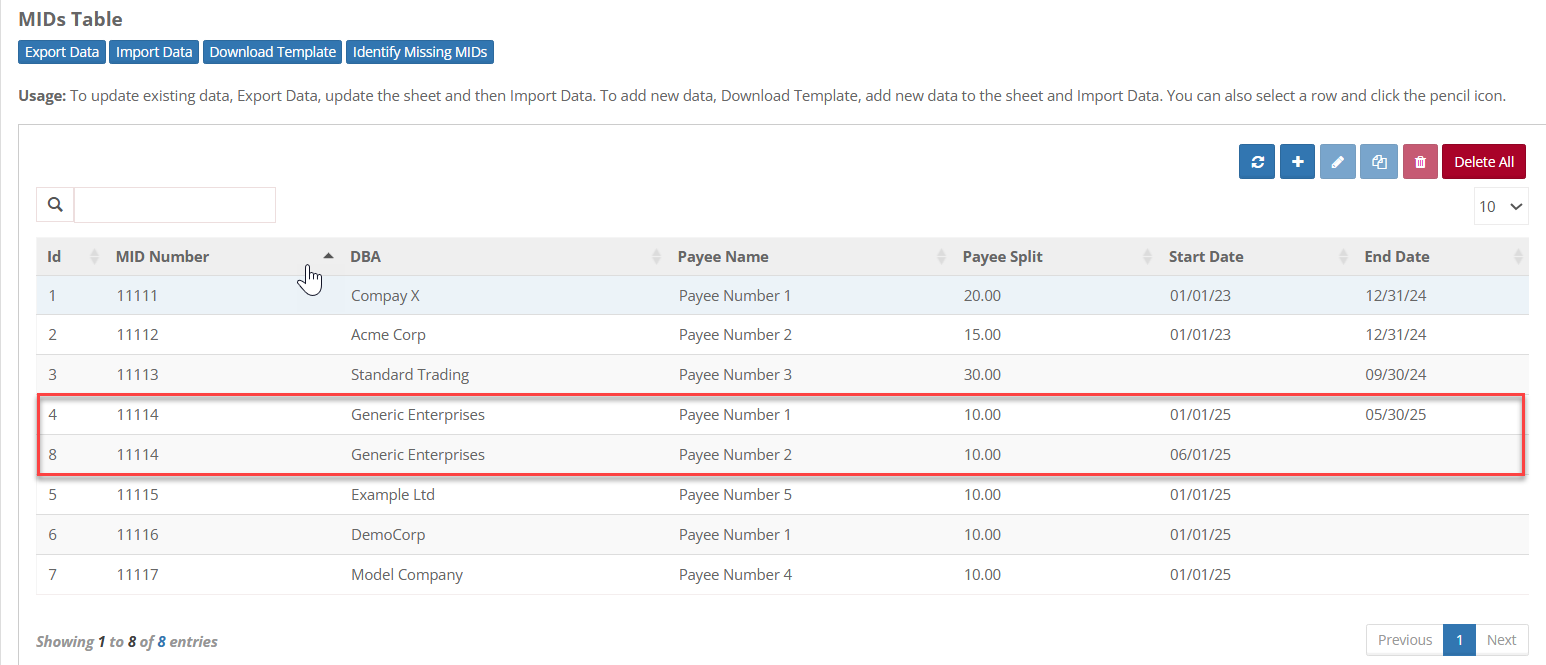
Reassigning a MID to a Different Rep
1. Select the MID that requires reassignment and click Edit.
2. In the End Date field, enter the date on which the current rep's assignment should conclude, then click Save.
3. Duplicate the existing record for that MID.
4. In the duplicated entry, update the Payee Name field with the new rep's name, enter the Start Date for the new rep's assignment and click Save.
5. There should now be two entries in the system for that MID - one for the previous rep and one for the new rep.